Push-ups are one of the most basic, and effective exercises you can do. No matter if you’re trying to get stronger, build endurance or just tighten up a bit, being able to complete the perfect push-up has its rewards. So let’s get into why push-ups are crazy important and mastering this bad boy one step at a time.
Understanding the Basics
What is a Push-Up?
A push-up is a strength training exercise that uses body weight for resistance, primarily strengthening the chest, shoulders and triceps. It’s performed by lowering and raising your body with your arms while keeping an absolutely straight line from head to heels.
Muscles Worked During a Push-Up
Push-ups primarily engage the pectoral muscles (chest), triceps (back of the arms), and deltoids (shoulders). Additionally, they work the core muscles, including the rectus abdominis, obliques, and the muscles of the lower back.
Preparing for Push-Ups
Assessing Your Fitness Level
Before you start, it’s important to assess your current fitness level. This will help you understand where to begin and how to progress. If you can’t do a standard push-up yet, don’t worry; there are modifications to help you build up your strength.
Essential Warm-Up Exercises
Warming up is crucial to prevent injuries and improve performance. Include dynamic stretches such as arm circles, shoulder shrugs, and torso twists. These exercises will prepare your muscles and joints for the workout.
Proper Push-Up Form
Hand and Feet Placement
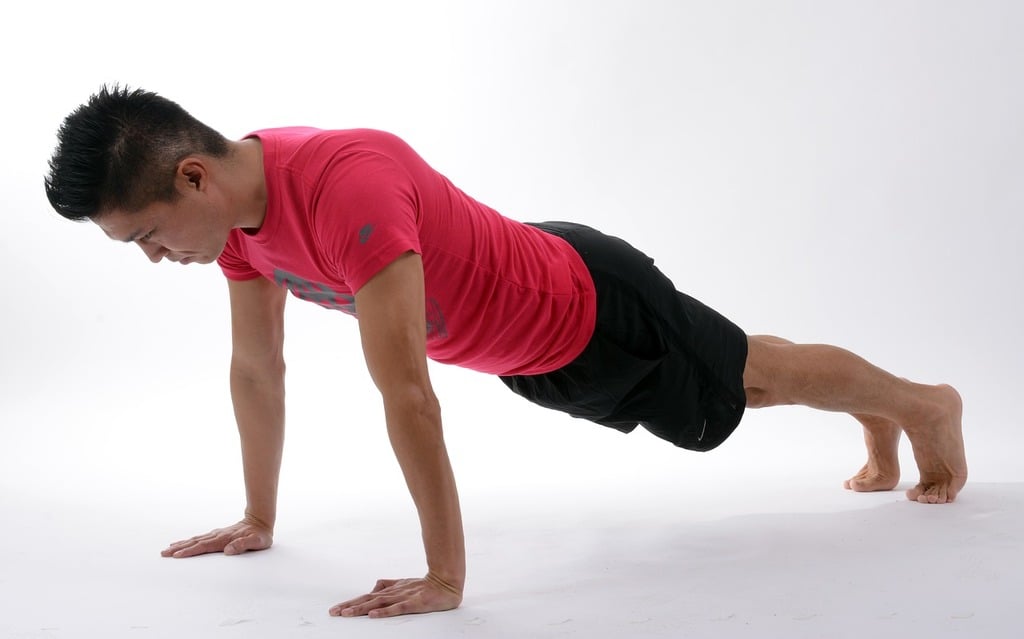
Your hands should be placed slightly wider than shoulder-width apart, and your fingers should be pointing forward. Your feet should be together, or slightly apart if it helps with balance.
Body Alignment
Maintain a straight line from your head to your heels. Your hips should not sag or pike up. Engage your core to keep your body stable throughout the movement.
Step-by-Step Guide to a Perfect Push-Up
Step 1: Lowering Your Body
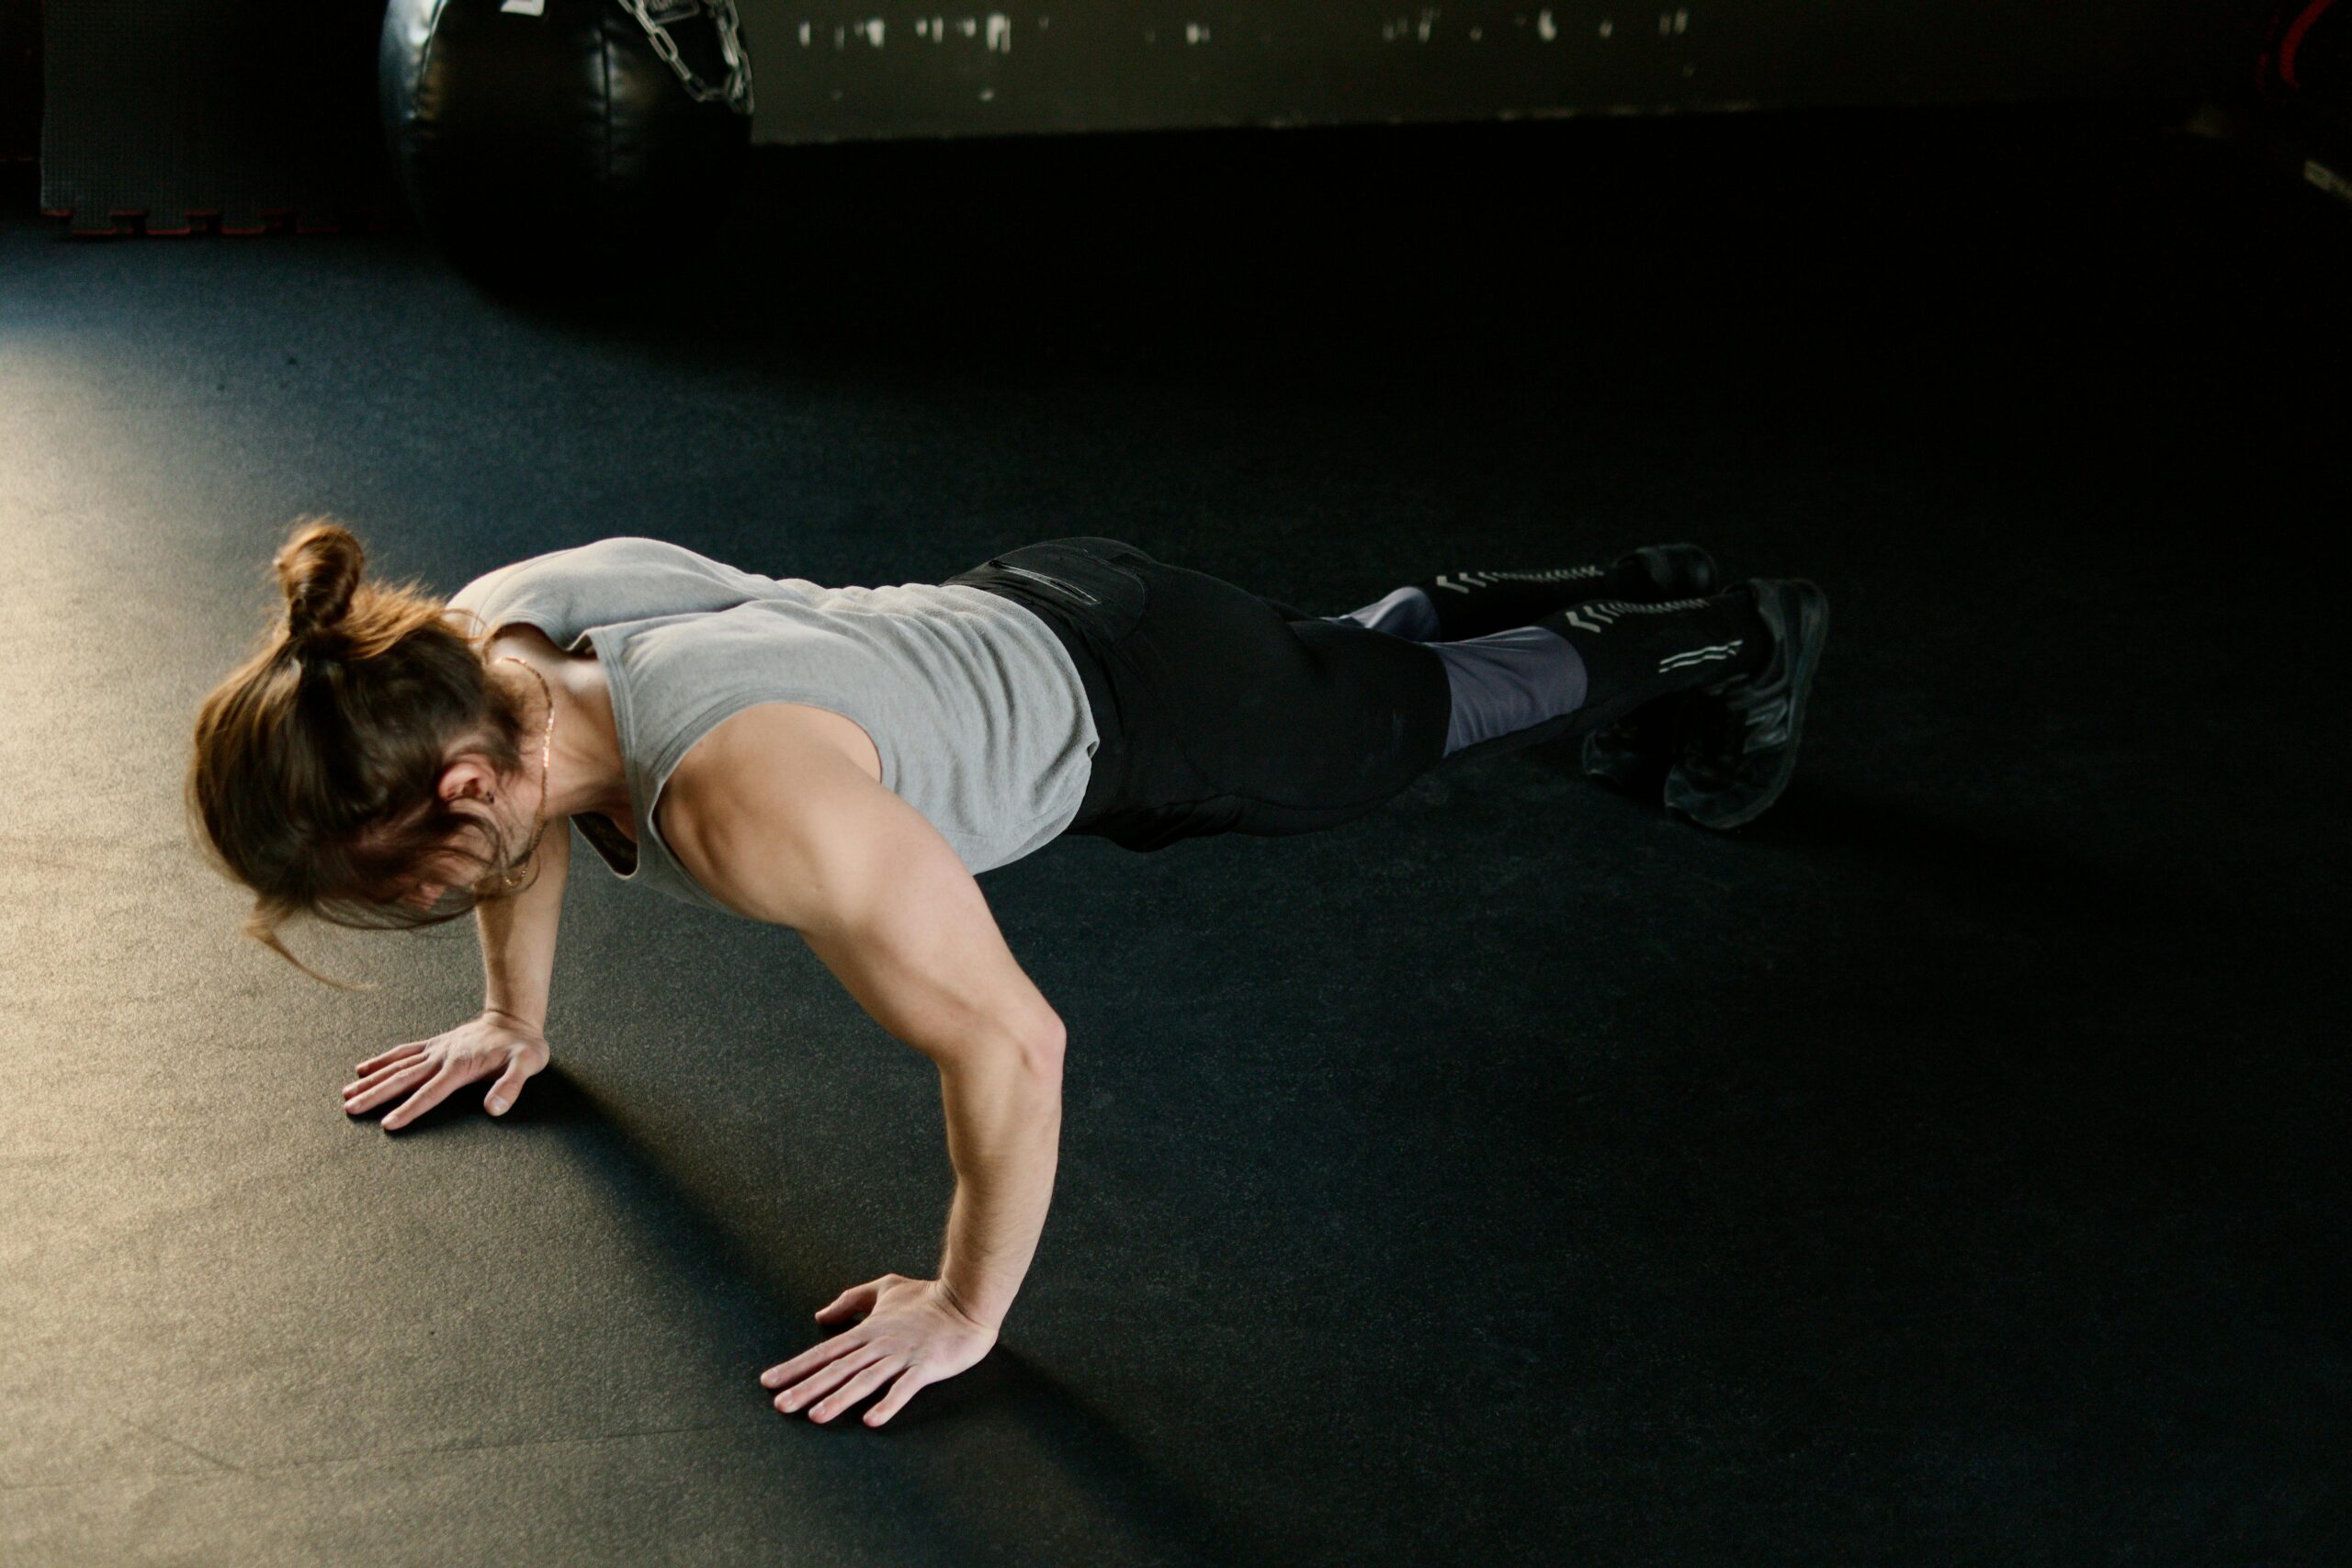
Slowly bend your elbows and lower your body until your chest almost touches the floor. Keep your elbows at a 45-degree angle to your body.

Step 2: Pushing Back Up
Push through your hands to raise your body back to the starting position. Make sure to keep your body aligned and avoid any jerky movements.
Common Mistakes and How to Avoid Them
Incorrect Hand Placement
Hands too far apart or too close together can put undue stress on your shoulders and wrists. Ensure your hands are placed correctly to avoid injuries.
Sagging Hips
If your hips sag, it indicates a lack of core engagement. Focus on tightening your core muscles to maintain a straight body line.
Flared Elbows
Flared elbows can lead to shoulder strain. Keep your elbows at a 45-degree angle to your body to ensure proper form and reduce the risk of injury.
Modifying Push-Ups for Beginners
Knee Push-Ups
Performing push-ups on your knees can reduce the weight you need to lift, making it easier to build strength.
Incline Push-Ups
Use a bench or a sturdy surface to perform push-ups at an incline. This modification also reduces the weight you need to lift, helping you develop the necessary strength for standard push-ups.

Building Strength for Push-Ups
Strengthening Exercises
Incorporate exercises like planks, chest presses, and tricep dips into your routine to build the muscles needed for push-ups.
Progressive Overload
Gradually increase the difficulty of your push-ups by adding more reps, trying harder variations, or incorporating weights. This principle of progressive overload helps in continuous muscle growth and strength gain.
Incorporating Push-Ups into Your Workout Routine
Creating a Push-Up Schedule
Plan your workouts to include push-ups regularly, but also ensure you have rest days to allow your muscles to recover. A balanced schedule might include push-ups 3-4 times a week.
Combining Push-Ups with Other Exercises
Pair push-ups with other exercises such as squats, lunges, and pull-ups to create a well-rounded fitness routine. This combination will help improve overall strength and endurance.
Tracking Your Progress
Setting Goals
Set specific, achievable goals to stay motivated. For example, aim to do five more push-ups every two weeks.
Using a Push-Up Tracker
Use a push-up tracker app or a simple journal to record your progress. Tracking helps in keeping you accountable and shows your improvements over time.
Push-Up Variations to Challenge Yourself
Diamond Push-Ups
Place your hands close together under your chest, forming a diamond shape with your thumbs and index fingers. This variation targets the triceps more intensely.
Wide-Grip Push-Ups
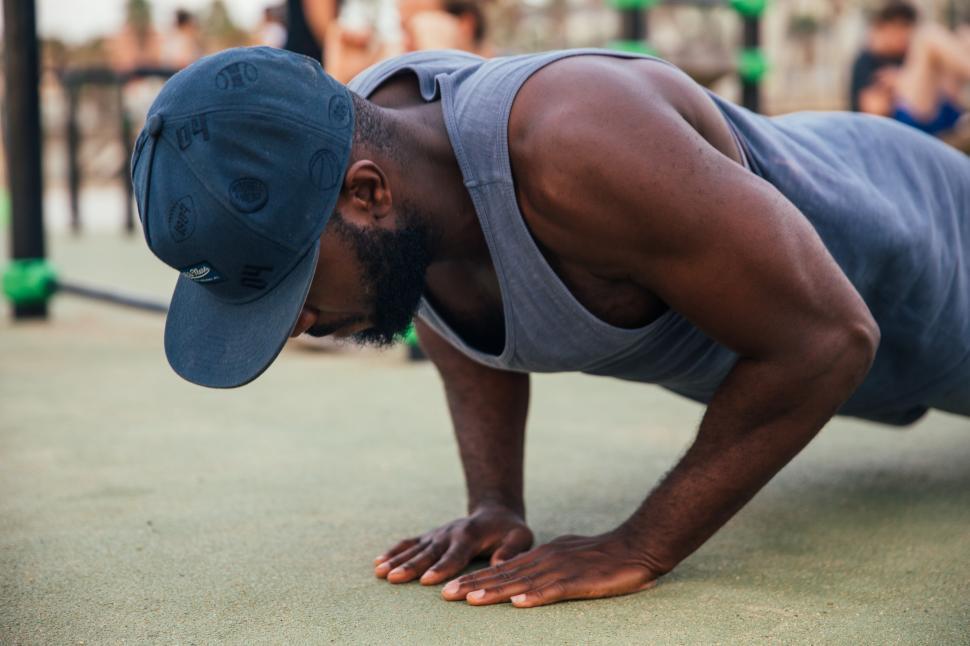
Position your hands wider than shoulder-width apart. This variation places more emphasis on the chest muscles.

Plyometric Push-Ups
Add a jump at the top of your push-up to incorporate explosive power and challenge your muscles in a new way.

Benefits of Push-Ups Beyond Strength
Improving Cardiovascular Health
Push-ups can elevate your heart rate, improving cardiovascular health and endurance.
Enhancing Mental Toughness
Regularly pushing your body to complete more push-ups can build mental resilience and discipline, beneficial in many areas of life.
Push-Up Myths
Myth 1: Push-Ups Only Work Your Arms
While push-ups do work the arms, they are also highly effective for building chest, shoulder, and core strength.
Myth 2: You Need to Do Hundreds of Push-Ups Daily
Quality over quantity. Performing push-ups with proper form is more beneficial than doing hundreds with poor form.
Advanced Push-Up Techniques
One-Arm Push-Ups
An advanced move that requires significant strength and balance. Practice regular push-ups and other variations to build up to this challenging exercise.

Handstand Push-Ups
A highly advanced move that works the shoulders and upper body intensely. Only attempt this if you have strong foundational strength and balance.

What if I experience wrist pain during push-ups?
If you experience wrist pain, try doing push-ups on your fists or use push-up bars to keep your wrists in a neutral position.

Mastering the perfect push-up takes time, patience, and practice. By following the steps outlined in this guide, you can improve your form, build strength, and incorporate push-ups effectively into your workout routine. Remember, consistency is key, and with dedication, you’ll see significant improvements.



Leave a Reply